Oracledna

Install Oracle GoldenGate Microservices 19c for Oracle Database 19c

This post demonstrates the installing Oracle GoldenGate Microservices 19c for Oracle Database 19c.

Environment
==========
GoldenGate Version: 19.1
GoldenGate Home: /app/ogg19cma
DB Version: 19.27
DB Type: Multitenant
OS: Oracle Linux 9.4

1. Check the Goldengate Certtification for compatibility.


Refer https://apexadb.oracle.com/ords/r/goldengate-compatibility/goldengatecertifications/goldengate-certifications

2. Create directories for the GoldenGate home, servce manager and the deployment.


–create directory for GoldenGate home
[oracle@oggsrc ~]$ mkdir -p /app/ogg19cma

3. Unzip the GoldenGate MicroServices Software.

[oracle@oggsrc oracle]$ unzip V983659-01.zip


[oracle@oggsrc oracle]$ ls -lrt
total 754496
-rw-r–r–. 1 oracle oinstall 1413 May 29 2019 OGG-19.1.0.0-README.txt
drwxr-xr-x. 3 oracle oinstall 4096 Oct 18 2019 fbo_ggs_Linux_x64_services_shiphome
-rw-r–r–. 1 oracle oinstall 332523 Oct 21 2019 OGG_WinUnix_Rel_Notes_19.1.0.0.4.pdf
-rw-r–r–. 1 oracle oinstall 772255600 Apr 12 2020 V983659-01.zip

4. Install the GoldenGate MicroServices 19c.

–Navigate to the OGG software location
[oracle@oggsrc ~]$ cd /misc/oracle/fbo_ggs_Linux_x64_services_shiphome/Disk1


[oracle@oggsrc Disk1]$     
Starting Oracle Universal Installer…

Checking Temp space: must be greater than 120 MB. Actual 3700 MB Passed
Checking swap space: must be greater than 150 MB. Actual 8191 MB Passed
Checking monitor: must be configured to display at least 256 colors. Actual 16777216 Passed
Preparing to launch Oracle Universal Installer from /tmp/OraInstall2026-11-17_09-18-54AM. Please wait …[oracle@oggsrc Disk1]$ You can find the log of this install session at:
/u01/app/oraInventory/logs/installActions2026-11-17_09-18-54AM.log


Select for 19c and click on Next

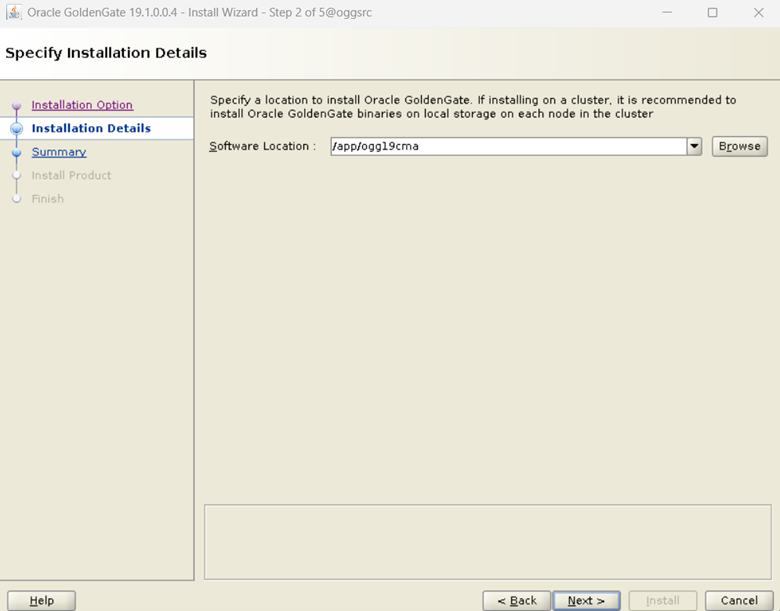
Select GoldenGate home location and click on Next
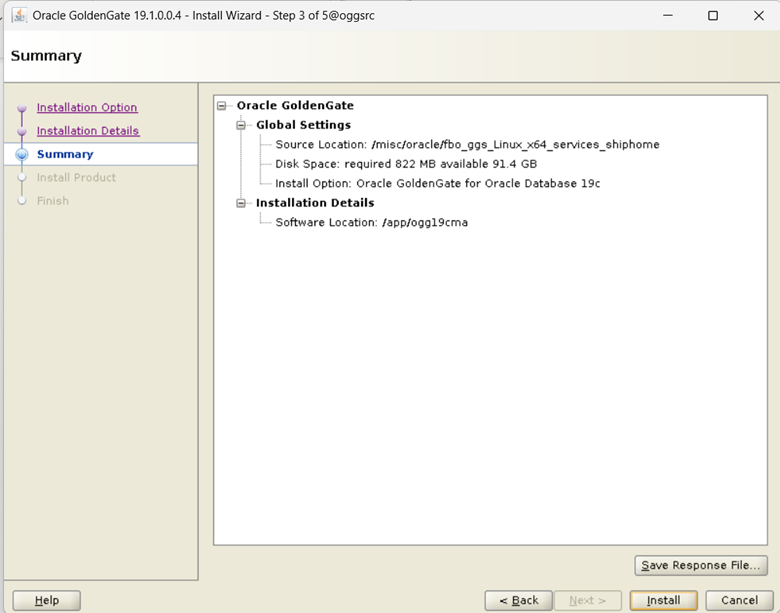
Click on Install
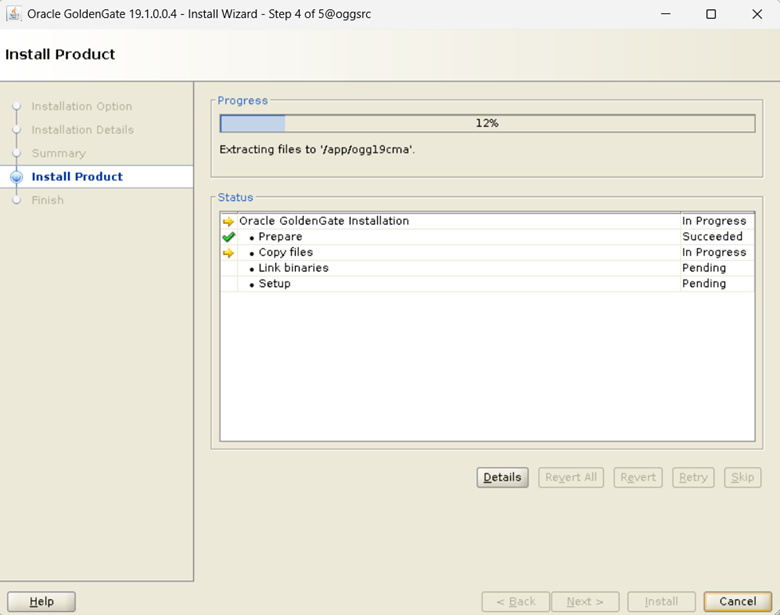
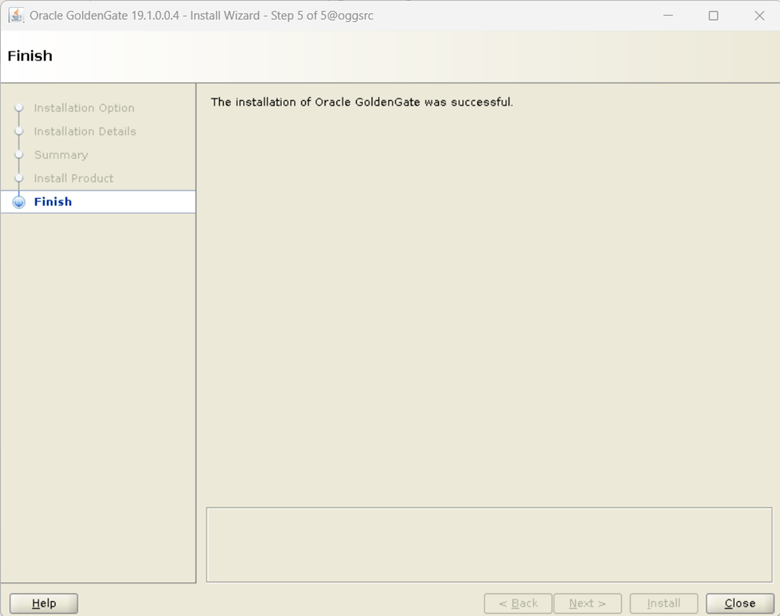
Click on Close
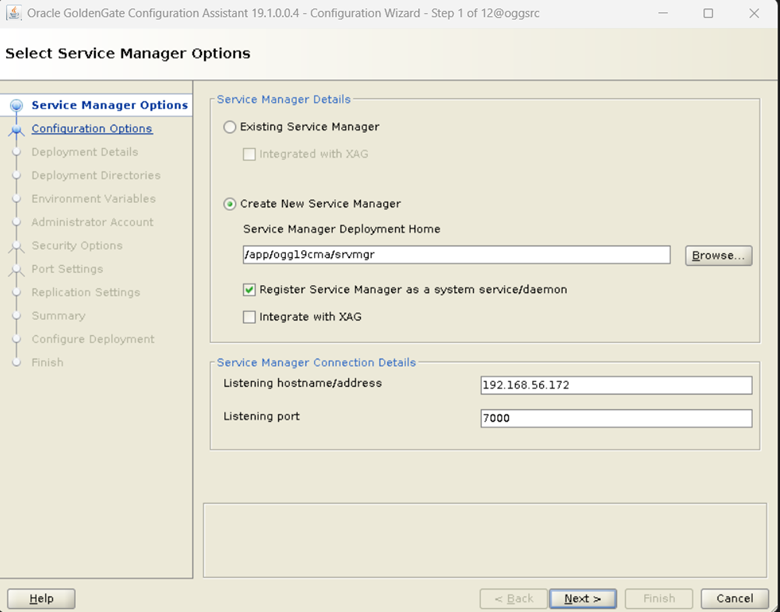
5. Deploy the GoldenGate Microservices.

–create directory for Service Manager
[oracle@oggsrc ~]$ cd /app/ogg19cma

[oracle@oggsrc ogg19cma]$ mkdir srvmgr

–create directory for deployment
[oracle@oggsrc ogg19cma]$ mkdir deploy1

[oracle@oggsrc ogg19cma]$ ls -lrt
total 8
drwxr-xr-x. 2 oracle oinstall 4096 Nov 17 09:04 srvmgr
drwxr-xr-x. 2 oracle oinstall 4096 Nov 17 09:04 deploy1


–Run the oggca.sh from the $OGG_HOME/bin
[oracle@oggsrc ~]$ cd /app/ogg19cma/bin/

[oracle@oggsrc bin]$ ./oggca.sh
Oracle GoldenGate Service Manager for Oracle
Version 19.1.0.0.4 OGGCORE_19.1.0.0.0_PLATFORMS_191017.1054

Copyright (C) 1995, 2019, Oracle and/or its affiliates. All rights reserved.

Linux, x64, 64bit (optimized) on Oct 17 2019 14:47:09
Operating system character set identified as UTF-8.

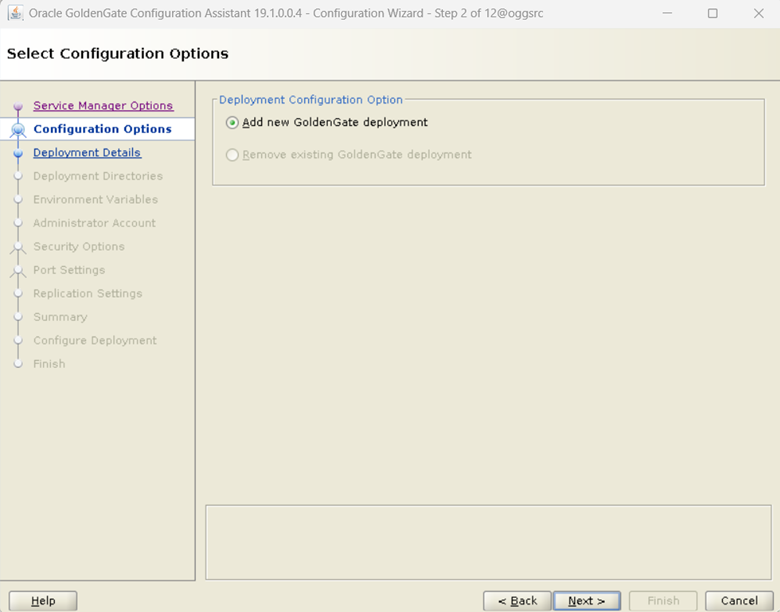
Select “Add new GoldenGate deployment”. Click on Next.
Enter the Deployment Name. Click on Next.
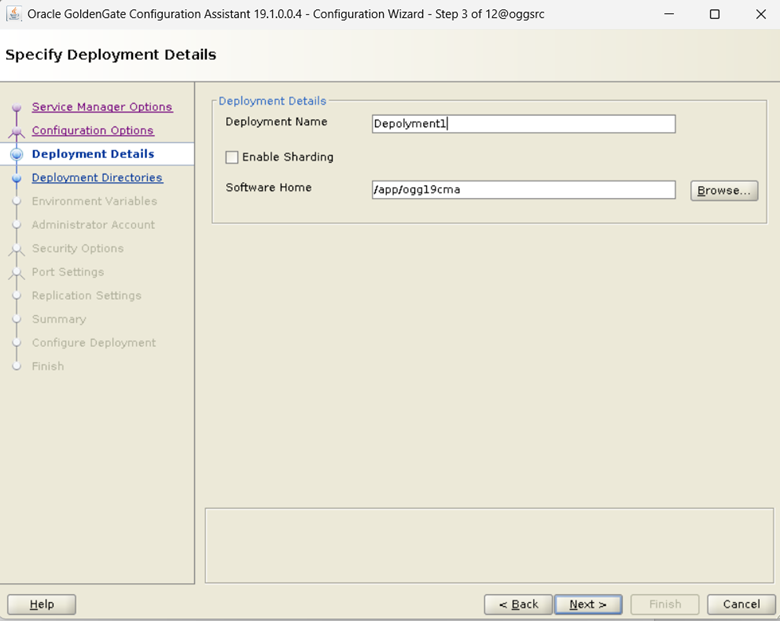
Enter the Depolyment1 home. Click on Next.
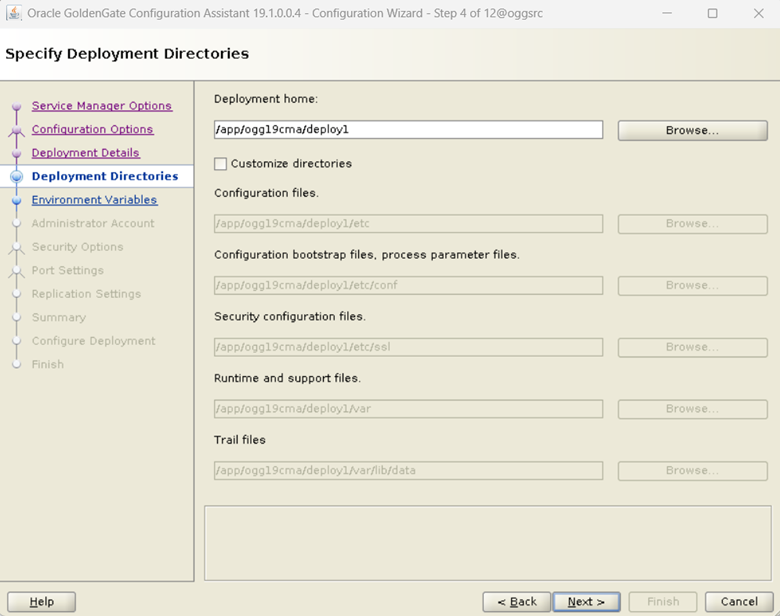
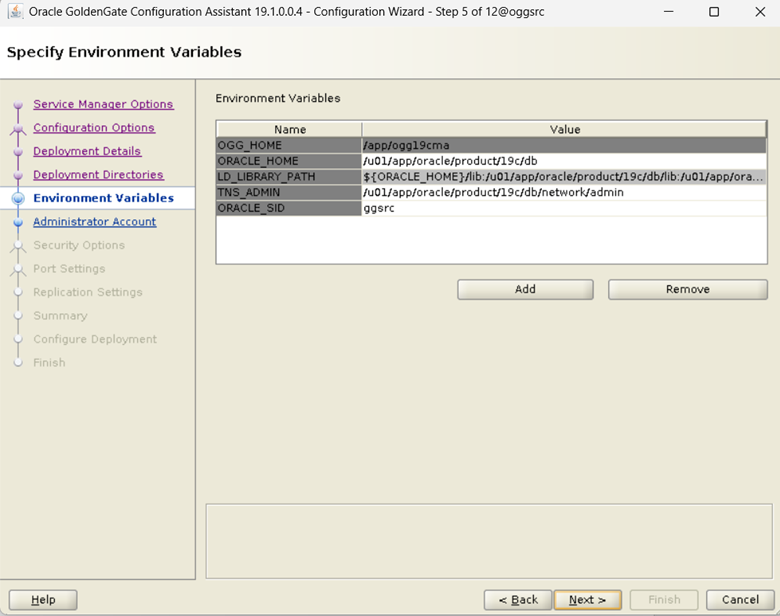
Enter the correct details and click on Next
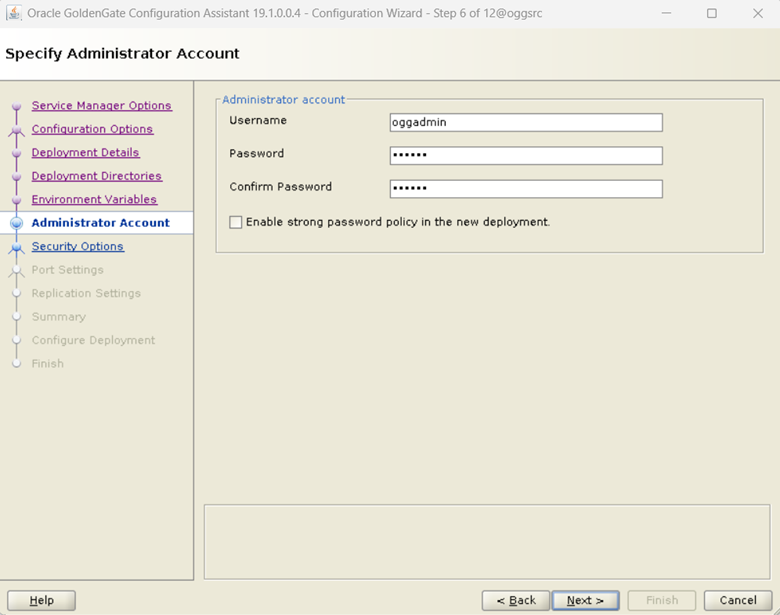
Enter the Administrator username and Password. Click on Next.
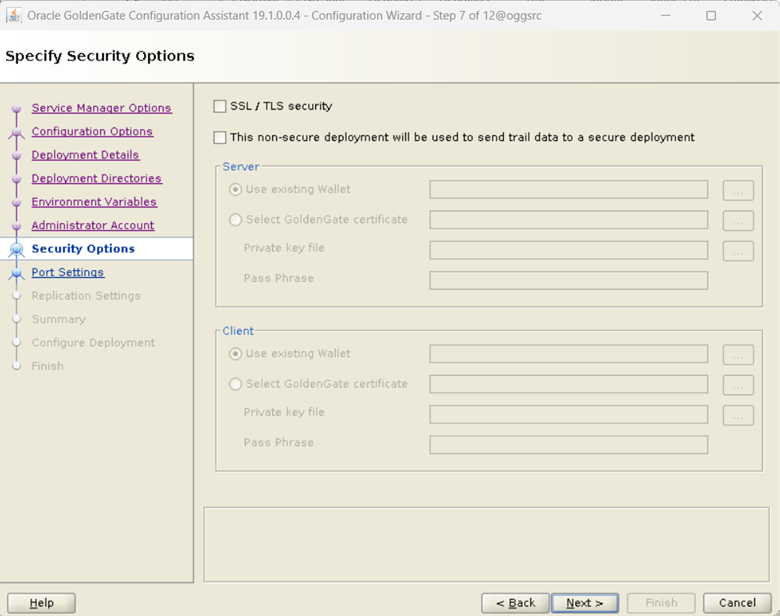
Uncheck SSL/TLS security as it is test environment. Click on Next.
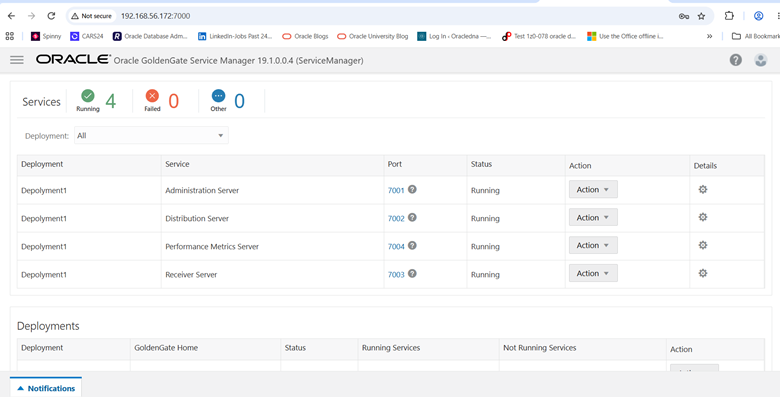
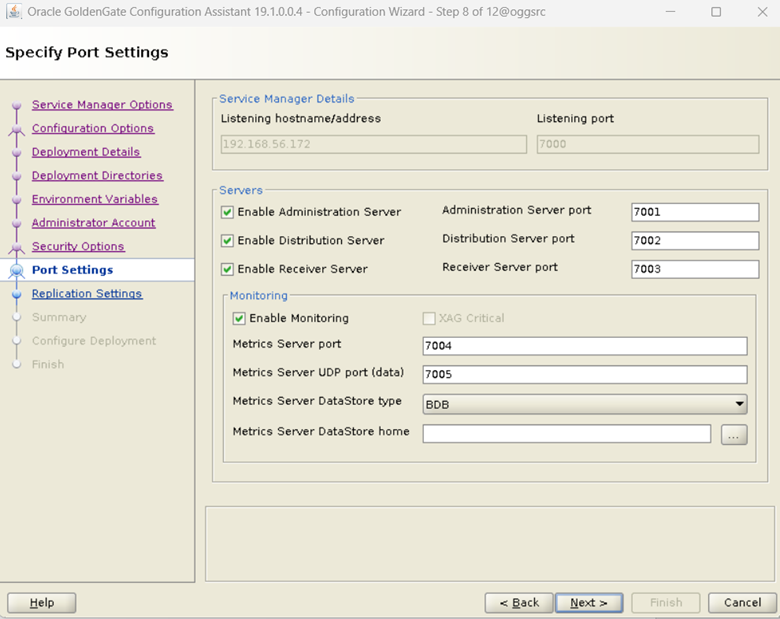
Enter the port details for each service as shown in below snap. Click on Next.
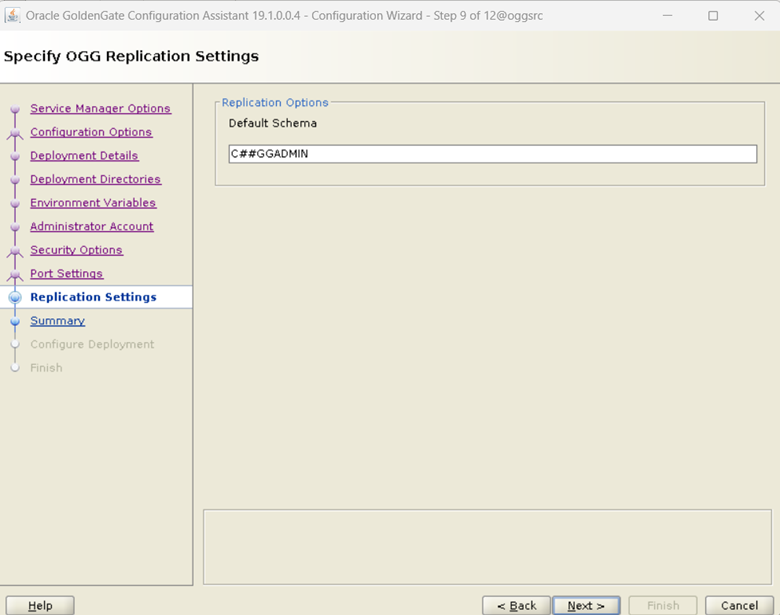
Provide the default Schema. Click on Next.
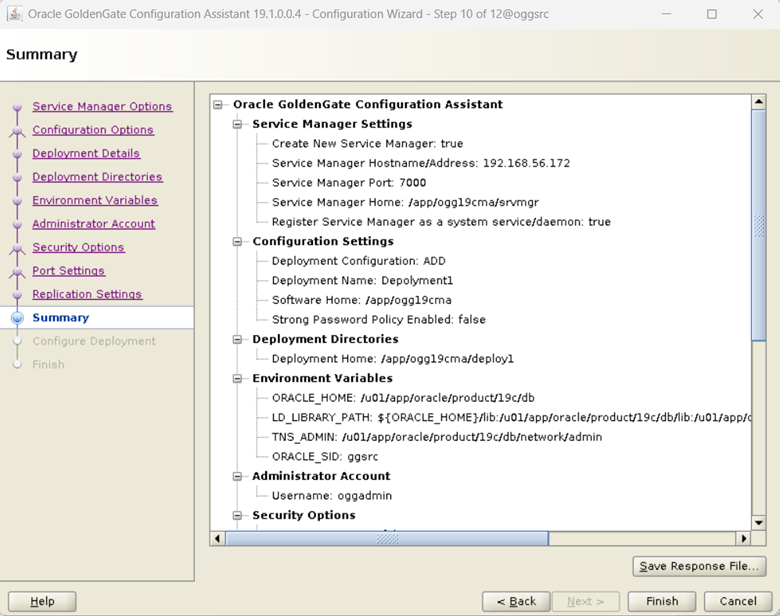
Click on Finish
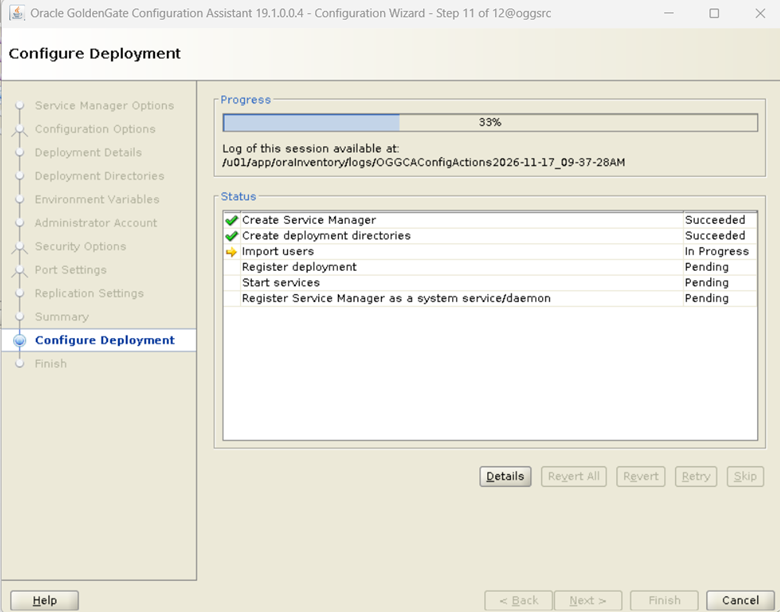
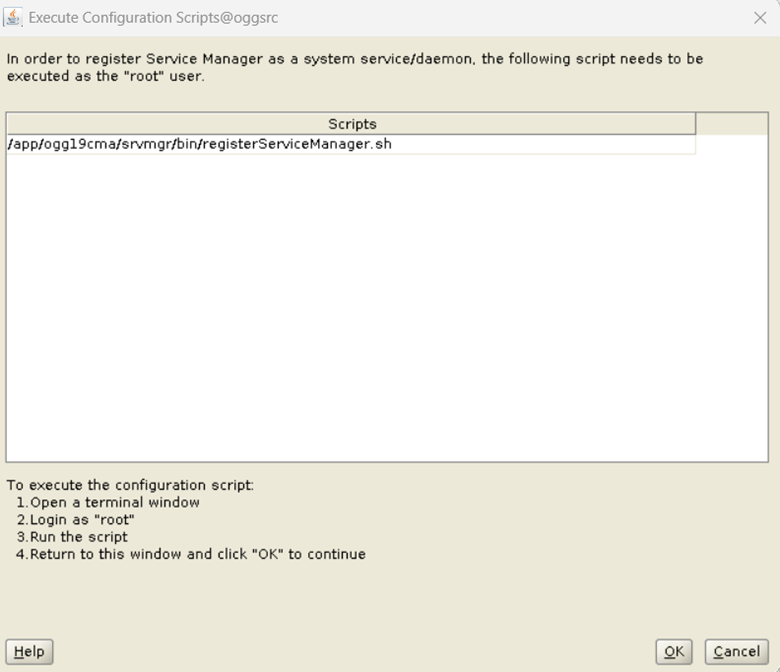
Execute script as root user.
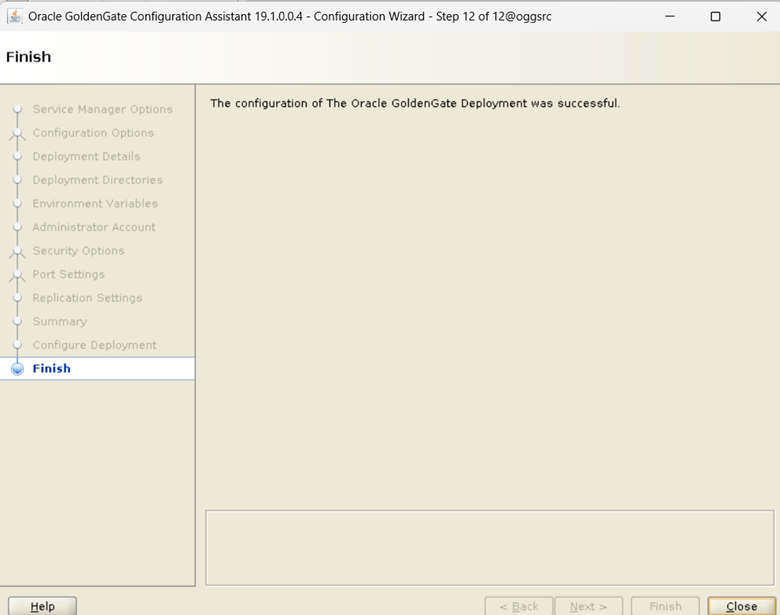
Click on Close
Login into the console

 

Successfully installed Oracle GoldenGate MicroServices 19c Software.

Disclaimer:

Please note the above information is only for educational purpose and practised in personal test database only. Always test in test database before implementing in production database. The pre-requisites and ways of implementing may vary from one environment to another. Hence, not providing guarantee that it will work in your environment.